
Send data from SuperAGI Marketing via Zapier
You can use Zapier to send data from SuperAGI Marketing to a third-party platform and vice-versa. Follow the steps below:
-
On the Zapier App on SuperAGI Marketing, click the Create Zap button.
-
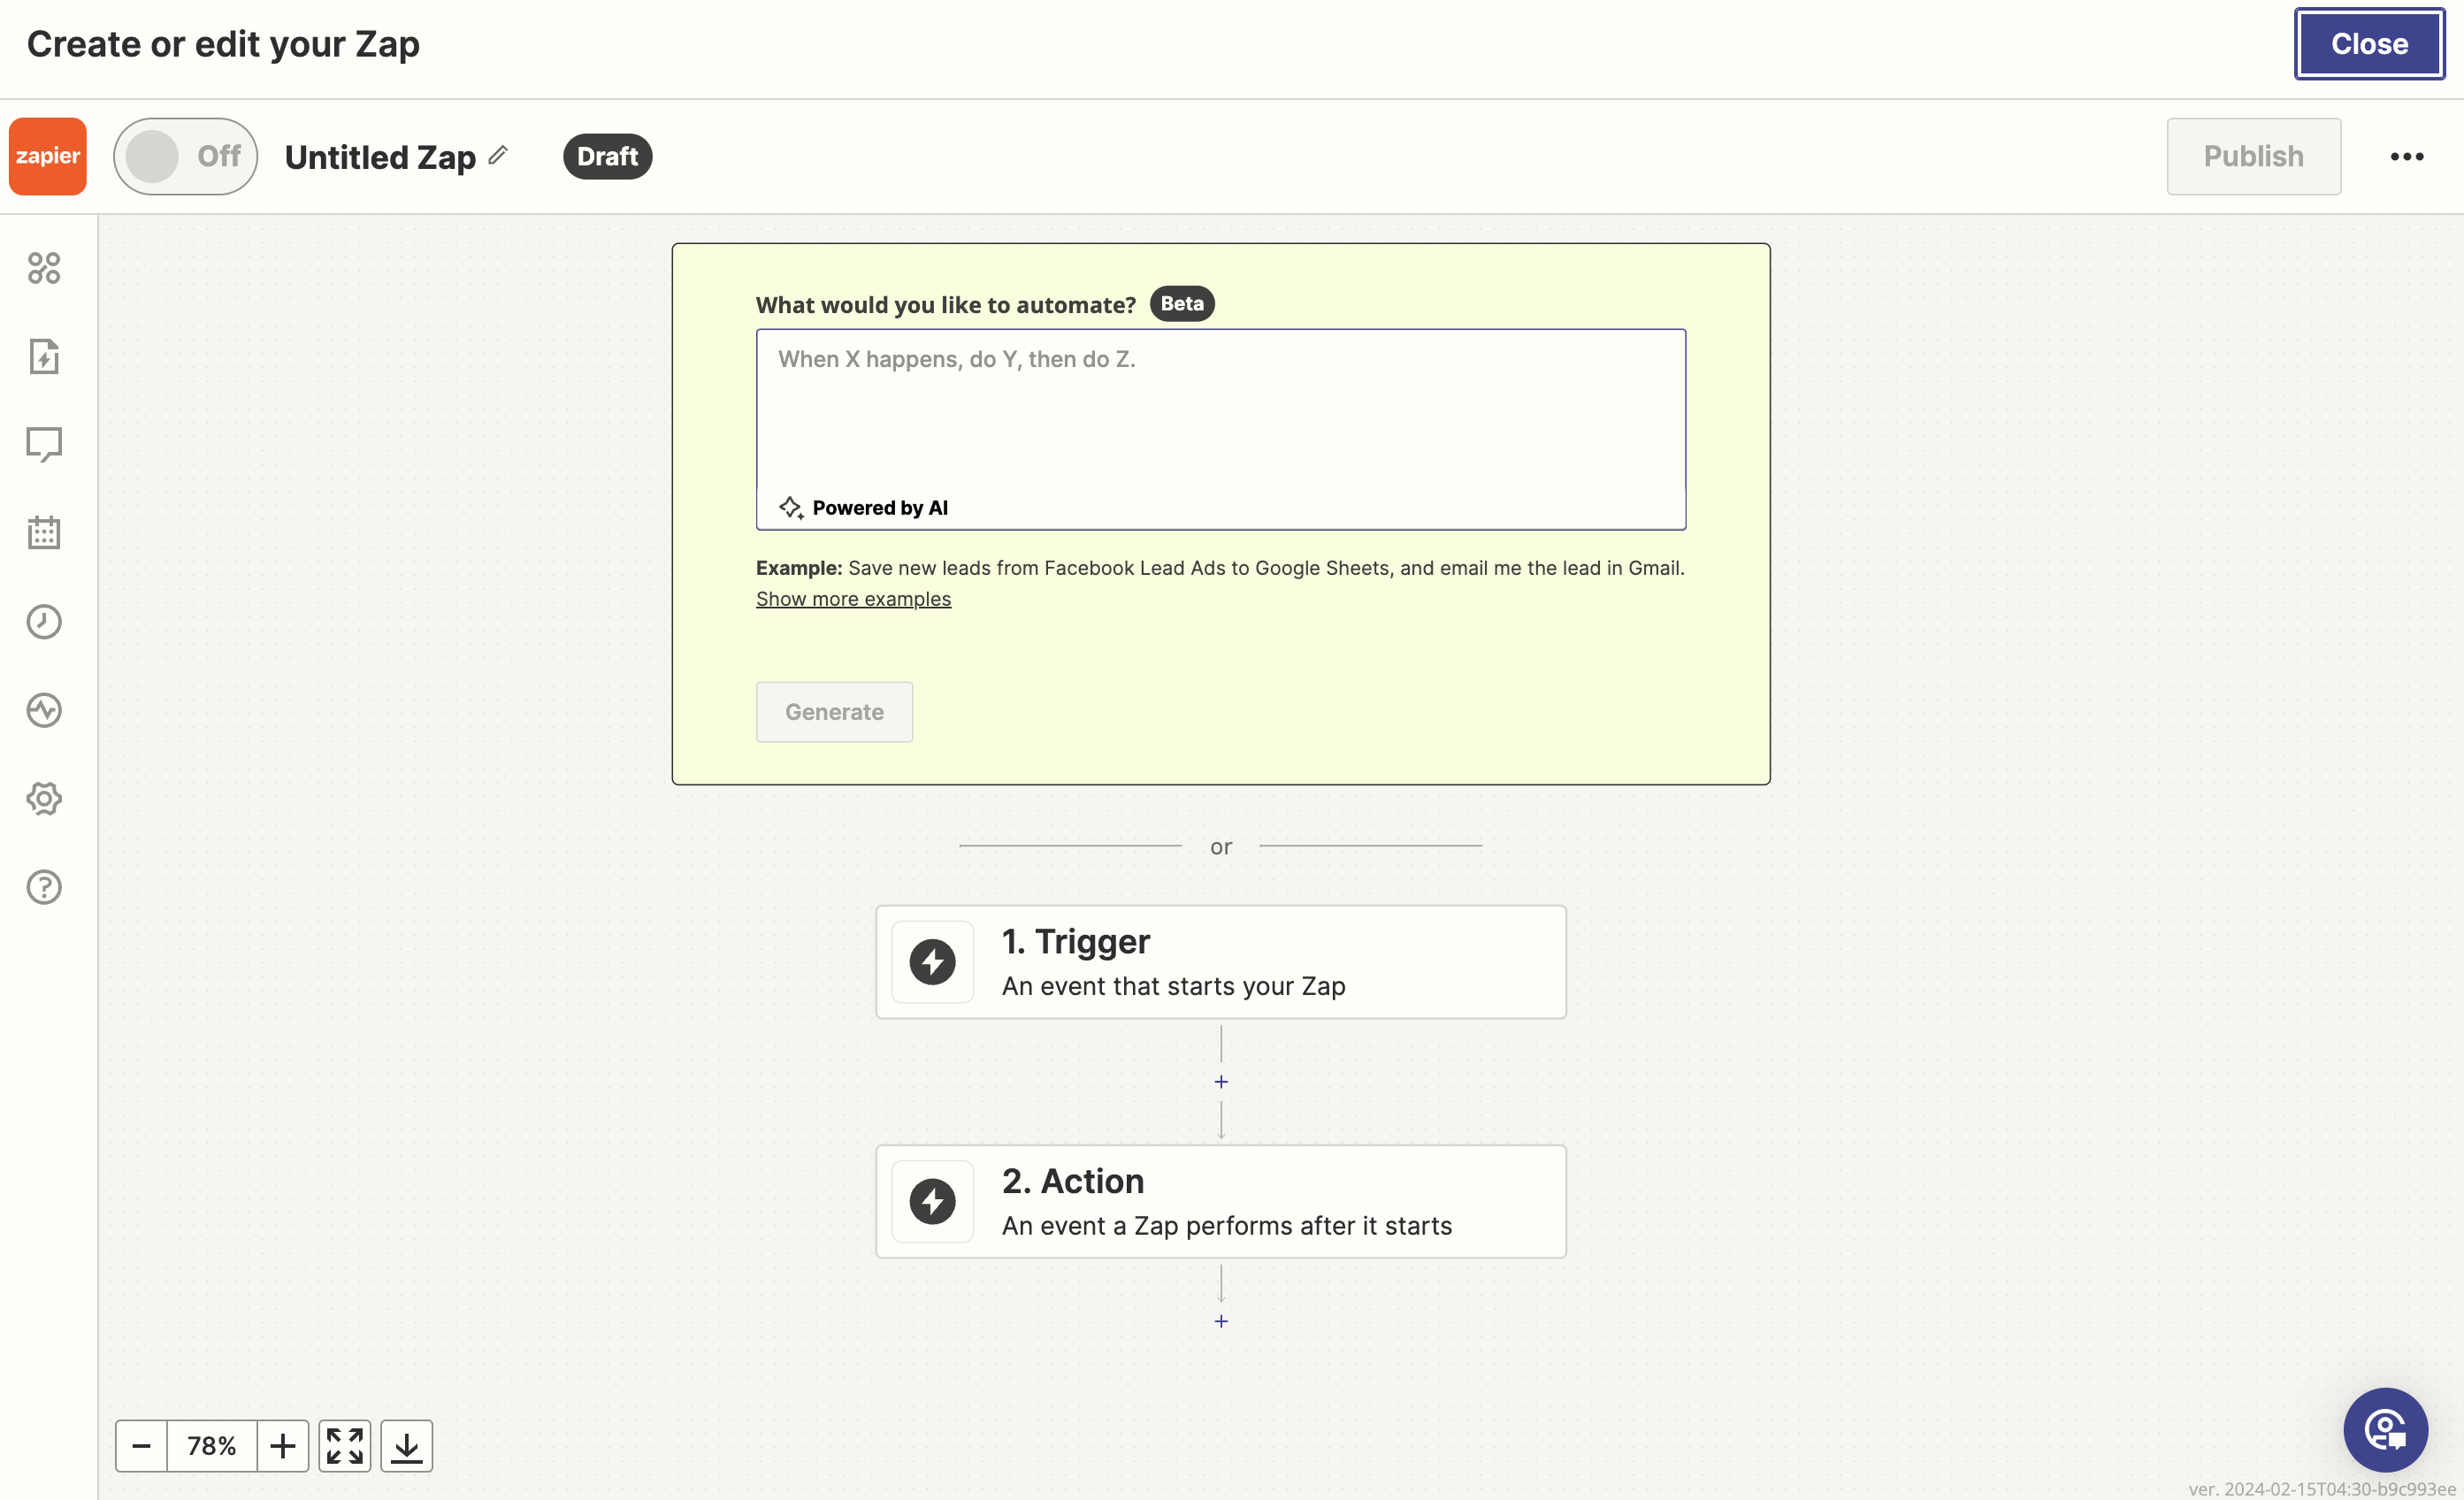
On Create or edit your Zap, You have to set up 2 steps:
-
Trigger
-
Action
-
Trigger
A trigger is a user event that starts your Zap. Follow the steps below to set a trigger:
-
Click the Trigger block to open the Change trigger modal.
-
Search and select the SuperAGI Marketing application to set the trigger. It opens SuperAGI Marketing configuration on the side panel. Fill in the required details as follows:
-
App & event: Choose an event from the Event dropdown that you want to act as the trigger to start the Zap. SuperAGI Marketing has the following events:
- New Profile Created: This event is fired when a new profile is created on SuperAGI Marketing.
- New Subscriber Created: This event is fired when a new subscriber is created for any channel.
-
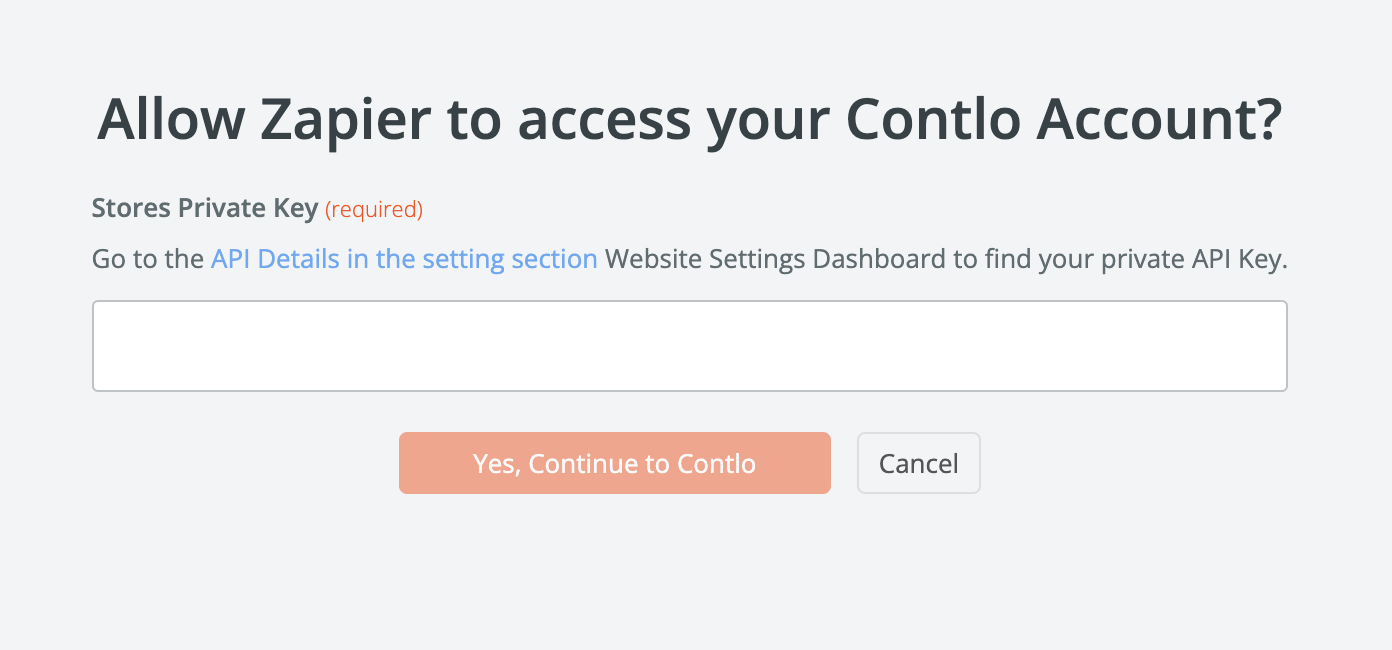
Account: Select the SuperAGI Marketing account from the dropdown to fetch the events. If you want to connect a new account, copy the Private API key from Settings > Marketing Settings > API keys on SuperAGI Marketing and add it to Allow Zapier to access your SuperAGI Marketing Account? screen.
-
Test: Test the trigger you've configured. It fetches the event-related information from SuperAGI Marketing.
-
Action
An action is a response to the trigger you've set. In this case, the action defines the data sent via Zap to a third-party application when the trigger gets fired on SuperAGI Marketing. Follow the steps below:
- Click the Action block to open the Change Action modal.
- Select the third-party application to configure the action for receiving data via Zap. It opens the third-party application's configuration on the side panel. Fill in the required details.
- Click Publish to take the Zap live.
Updated 12 months ago